Free Pattern: Halloween and Thanksgiving Mini Pumpkins
These little pumpkins knit up in about half an hour. Make some for trick or treaters, add them to a festive garland, or even use them as some fun Thanksgiving table decor!
They will work in any weight yarn and no need to worry about gauge - just pick a needle size that keeps stitches tight enough to contain the stuffing. I’m on vacation and brought all the wrong needles, so my samples are worked with DK weight and worsted weight yarn on US size 3 (3.25mm) needles. Normally I’d recommend size US 4 (3.5mm) and US 5 (3.75mm) respectively for those weights of yarn.
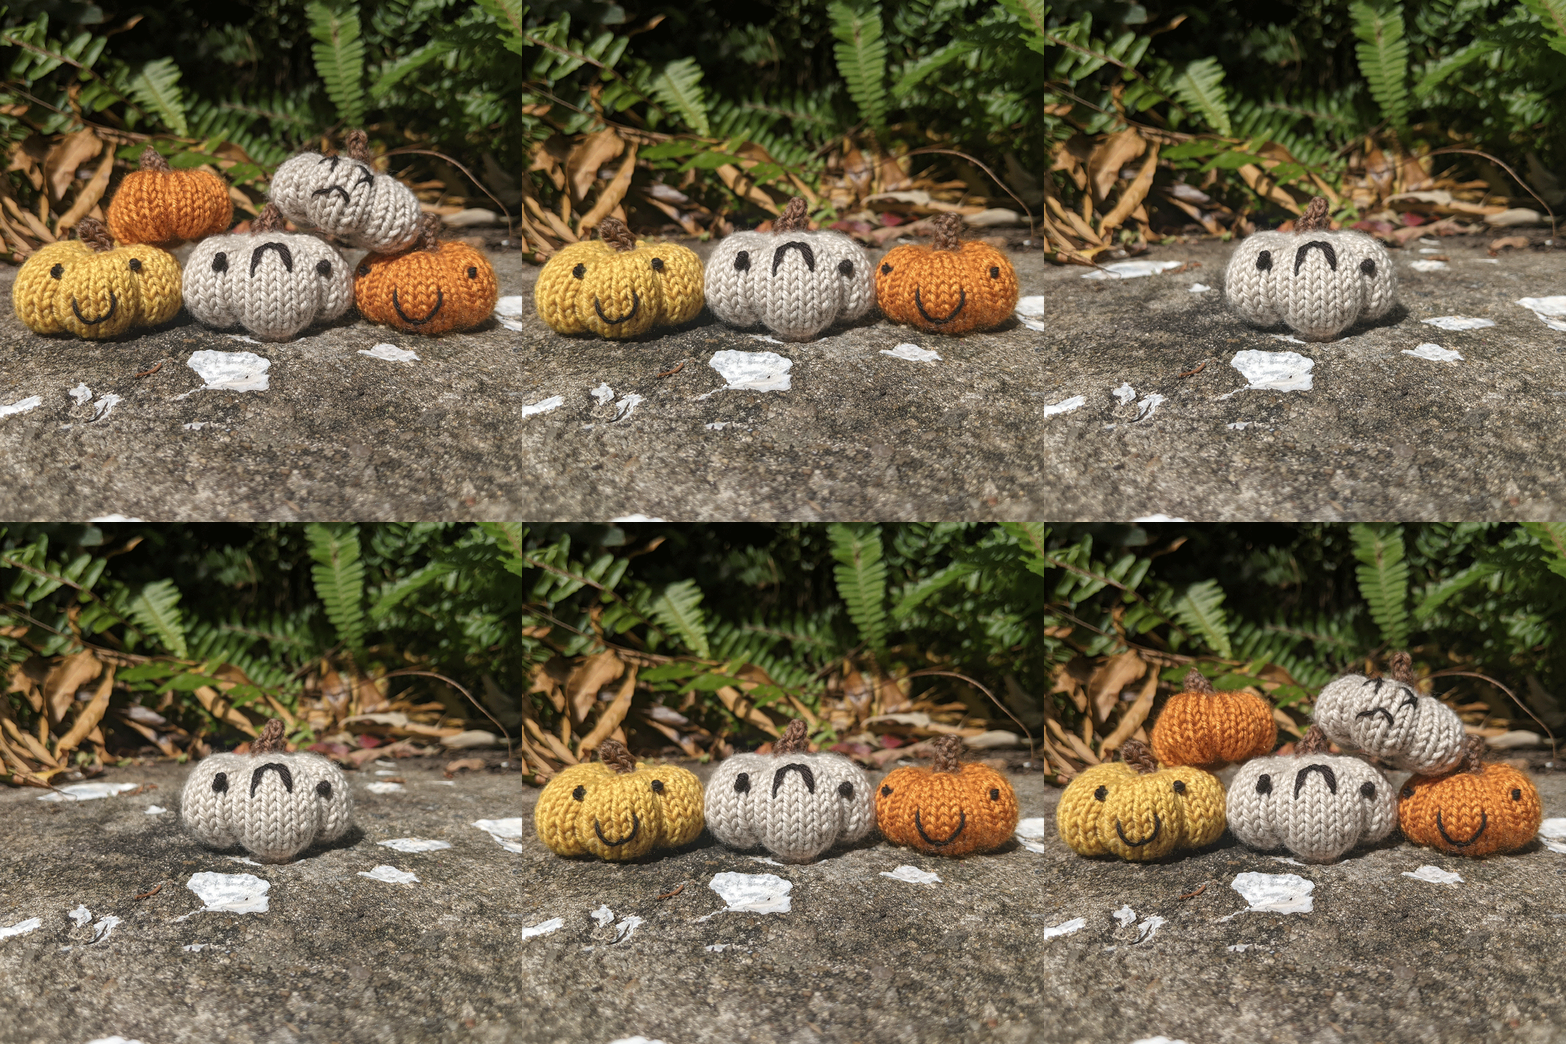
The pattern has two sizes, small and large. The larger pumpkin is made by adding in an extra increase and decrease round. Here are some side by sides of both sizes of pumpkins so you can see how they compare. As noted, the needles I used are smaller than recommended, so your pumpkins will likely be bigger. Mine varied in size from a diameter of about 1 inch / 2.5cm to 3 inches / 7.5cm.
Mini Pumpkins
Yarn
Any weight
MC - pumpkin color: orange, white, yellow
CC - stem color: brown or green
Needles
For working in the round: Double pointed needles, one long circular or two short circulars. Needles should be 1-2 sizes smaller than recommended for weight of the yarn.
Some suggested Yarn weights / Needles:
DK weight yarn / Size US 4 (3.5mm) needles
Worsted weight yarn / Size US 5 (3.75mm) needles
Super bulky weight yarn / Size US 13 (9mm) needles
Notions
Polyester fiber fill
Tapestry needle
Stitch marker
Length of black yarn for face
Directions
The pumpkin is worked from the stem down. Because it starts out so narrow and fiddly, I recommend starting in I-cord and then switching to working in the round.
Using CC yarn, cast on 3 stitches. Work as in I-cord, carrying the yarn across the back of the piece.
Rnds 1-3: K.
Rnd 4: (Kfb) across. (6 sts)
Break yarn and change to MC.
Rnd 5: K.
Rnd 6: (Kfb) across. (12 sts)
Divide stitches for working in the round.
Rnd 7: K.
Rnd 8: (Kfb, k1) around. (18 sts)
Rnd 9: (Kfb, k2) around. (24 sts)
Rnd 10: (Kfb, k3) around. (30 sts)
//Large pumpkin only// Rnd 11: (Kfb, k4) around. (36 sts)
Next 10 rnds: K.
//Large pumpkin only// Next Dec Rnd: (K4, k2tog) around. (30 sts)
Dec Rnd 1: (K3, k2tog) around. (24 sts)
Dec Rnd 2: (K2, k2tog) around. (18 sts)
Dec Rnd 3: (K1, k2tog) around. (12 sts)
Pause here to stuff pumpkin. Continue to stuff as you work last round.
Dec Rnd 4: (K2tog) around. (6 sts)
Break yarn, leaving 36 inch / 91cm tail, and pull through stitches to secure.
Finishing
Create the ridges around the pumpkin: Thread long tail onto a tapestry needle. Insert needle through the center bottom of the pumpkin and out through the top at the base of the stem. *Insert needle back through bottom of pumpkin in same place, exiting through top of pumpkin, next to stem one stitch over. You will now have a loop around the outside of the pumpkin. Align this loop with the decrease stitches on the underside of the pumpkin; it makes a handy guide to ensure each wedge is an equal size. Pull firmly on the long tail until you are satisfied with the indentation in the side of the pumpkin.*
Repeat from ** around the pumpkin until you have six wedges. Tie a French knot in the center base of the pumpkin because it looks pretty. Weave in any remaining ends.
Create the face: Use a length of black yarn to embroider on the face. French knots make great eyes. To make a smile or frown: sew a very loose stitch where the corners of the mouth will be. Pull the needle up through the center of a stitch slightly below (or above, for a frown) and centered between these two stitches. Wrap the yarn around the initial stitch and then push the needle back through the same center stitch it just came out of. Pull this center stitch tight while adjusting the loose stitch into a curve. Tie off ends of yarn to secure and weave them in.
Share your pumpkins on social media by tagging @rabbitsandrobots!


